Table of contents
- Mapping Data
- Adding a stage
- Import Options
- Attributes Explanation
The Import Manager supports you when importing part data. It allows you to use your own column titles as attributes for ipolog 4, but these must first be assigned. To do this, go to Common Data and select the desired planning state of your part data.
Then select “Import part data”:
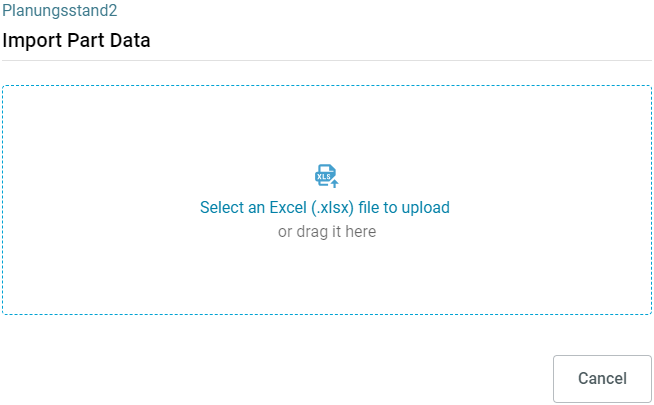
A window opens. Select the desired import file here. How the file is formatted is explained here.
Please note: The file must be in “.xlsx” format and has to be located on your PC locally.
Next, select the spreadsheet that contains your data and which row in your file is the header row. The header row contains the column titles/attributes.
In the following window, you can then assign the columns in ipolog 4 to the corresponding columns in your file. The left-hand side contains the attributes (or column titles) in ipolog 4, the right-hand side the attributes of your table:

You can use the buttons at the bottom left of the window to adjust whether already assigned attributes or everything except mandatory fields should be shown/hidden. You can also decide whether the level parameters of predecessor Log-IDs should be passed on to successor Log-IDs if there is exactly one predecessor.
Mapping Data
"Mapping" your data means, that you can link the existing data in your import file to the data in ipolog 4 in order to use it in the program:
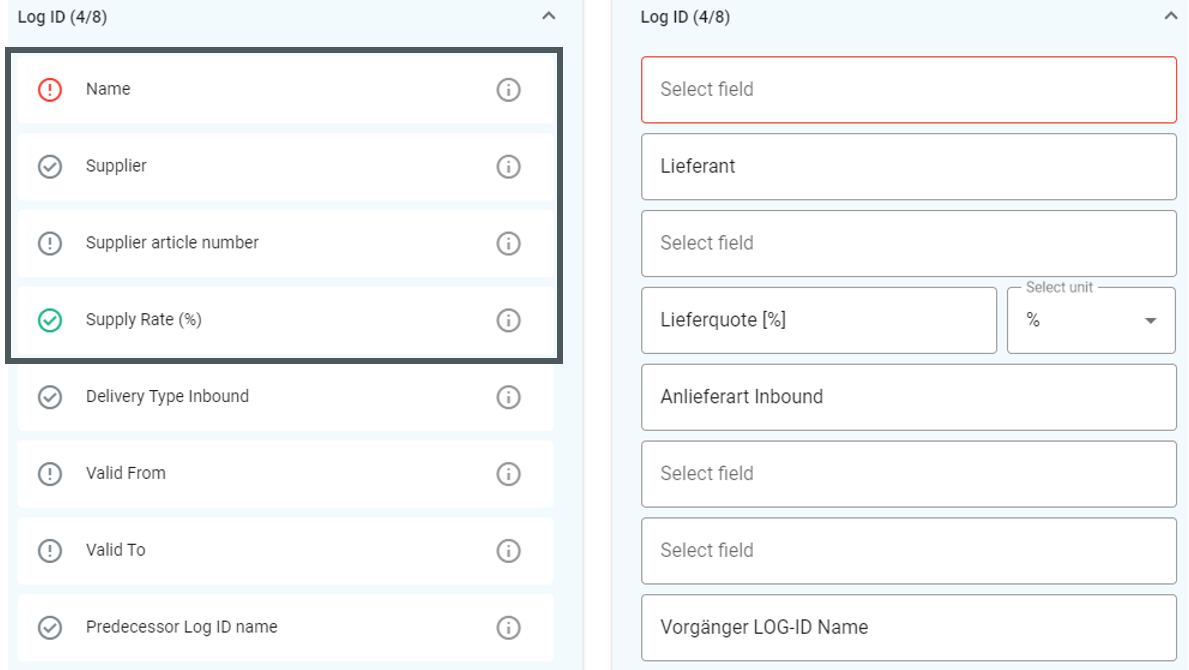
On the left-hand side, we see the attributes of ipolog 4 and different symbols in front of them.
In the first column we see “Name” and in front of it the “red exclamation mark” symbol. This stands for a mandatory field that has not yet been assigned.
Below this we see the attribute “Supplier” and a “gray check mark” symbol in front of it. This stands for an optional field that has already been automatically assigned (because it has the exact same name in our table or has been assigned before).
In third place is the attribute “Supplier article number” and a “gray exclamation mark” symbol. This means that this optional field and has not yet been assigned.
Finally, we see the attribute “Supply rate (%)” and a “green checkmark” symbol, because this mandatory field has already been successfully assigned to a column in our import file.
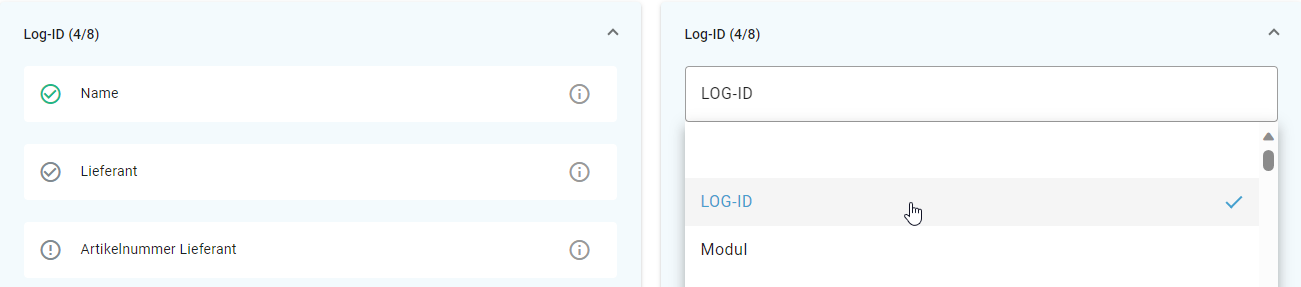
To fill the data fields, left-click on “Select field” or an existing attribute on the right-hand side to edit it and select a suitable attribute from your imported table:
Adding a stage
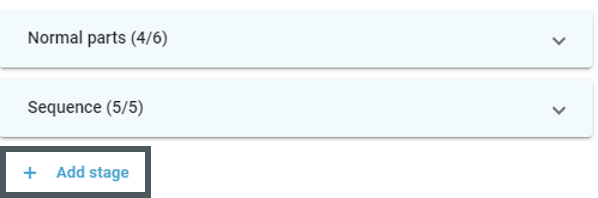
In addition to the existing attribute groups, more can be added by selecting “+ Add stage”. The stages can be used to reflect the stage processes in your planning space:
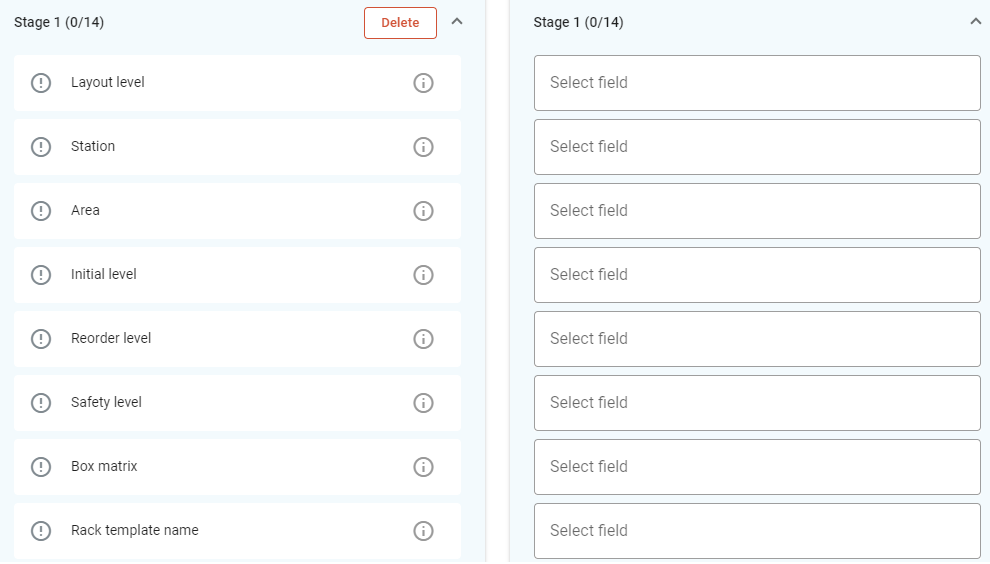
Please note: By assigning the attributes "Layout level", "Station" and "Area" to columns in your import file, it is possible to horizontally filter your part data to use it in different parts of your project. Not assigning your part data to these attributes results in the parts being stored in the "reservoir area" in your project.
Import Options
After you have linked the data from your import file with ipolog, you can determine how the imported data should be handled in the next step:
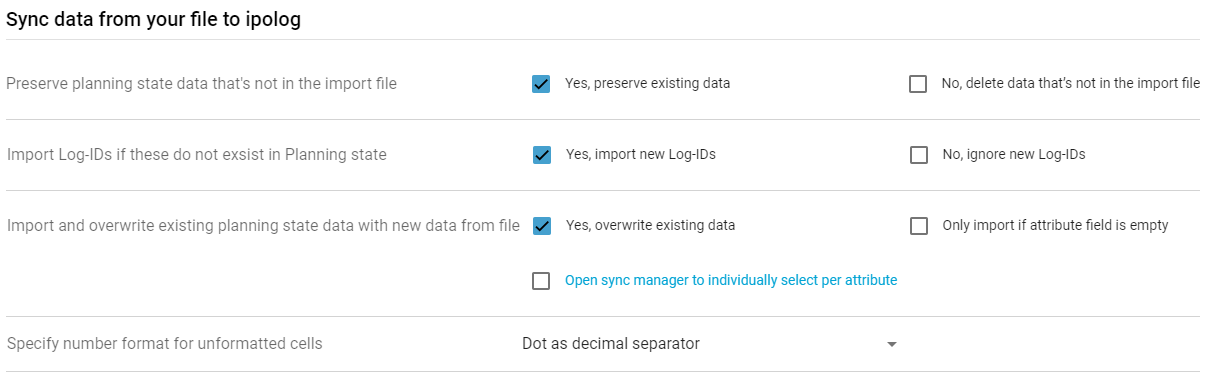
Please note: Select the same formatting at "Specify number format for unformatted cells" as it is in the excel file you try to import. If your numbers are separated from their decimals with a dot, select "Dot as decimal separator" here.
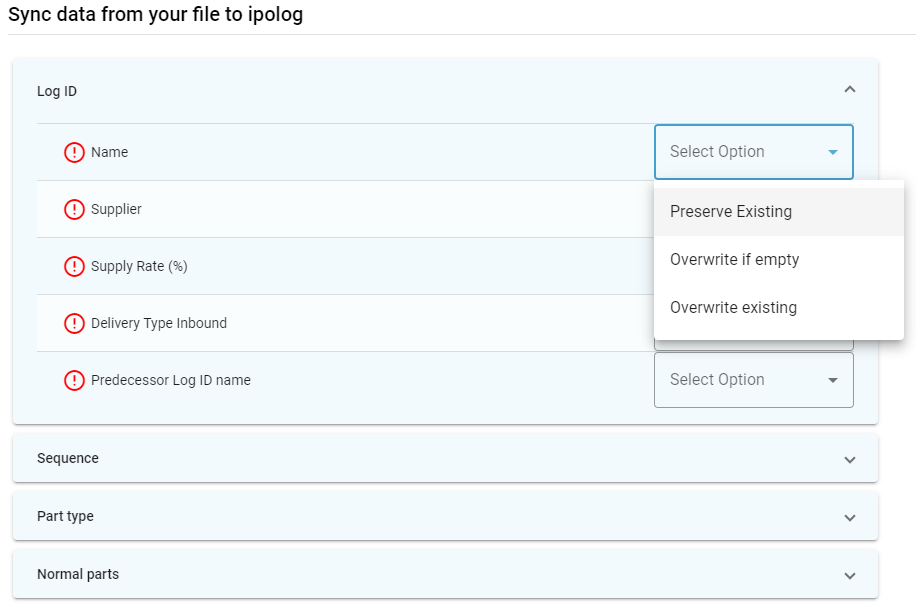
You can also select the synchronization manager for the option “Import and overwrite existing planning state data with the new data from file”. This allows you to select for each attribute individually whether you want to overwrite existing data or only import the data if the attribute is still missing:
Attributes Explanation
| Attribute Group | Attribute in ipolog 4 | Explanation | Annotation |
| Framework of Parts | Framework of Parts | Parts can be sorted by their part group in this column | |
| Part-Type | Part Number | The part number | Each part number can only exist once |
| Part Name | The designation of the part | ||
| Part Weight | The part weight in kg or in g | This data field only accepts whole numbers or decimals. Has to be uniform in kilogram or gram for all entries. | |
| Part Type Valid From | Defines a validity period for the part | ||
| Part Type Valid To | Defines a validity period for the part | ||
| Log-ID | Log ID Name | The Log-ID is entered here | Each Log-ID can only exist once |
| Supplier | The supplier of the part can be entered here | ||
| Supplier article number | The original part number from the supplier can be stored here | ||
| Supply Rate (%) | The delivery rate in % or in decimals | This data field only accepts whole numbers or decimals. Must be greater than 0,0%. | |
| Delivery Type Inbound | The delivery type used in ipolog 4 can be stored here (e.g. milk run) | ||
| Log ID Valid From | Defines a validity period for the Log-ID | ||
| Log ID Valid To | Defines a validity period for the Log-ID | ||
| Predecessor Log ID name | You can enter the Log-ID of the predecessor part here | In this column, only Log-IDs in the format “LOG-ID NUMBER” can be entered in this column. - Predecessor and successor must both be normal parts - Several predecessors can have the same successor - The predecessor and successor must never be the same for a Log-ID - A Log-ID may not represent the predecessor of itself - The validity of the successor part must not expire earlier than that of the predecessor part | |
| Normal Parts | Loading unit | The loading unit for single parts | |
| Loading carriers per loading unit | How many loading carriers are used per loading unit for the transportation of single parts | An integer greater than 0 must be entered in this column. | |
| Loading carrier | In which loading carrier the single part is transported | If there is an entry for "Parts per loading carrier", something has to be entered here as well. | |
| Parts per loading carrier | How many single parts fit into one loading carrier | If there is an entry for "Loading carrier", something has to be entered here as well. | |
| Default parts per product | How many single parts are consumed in a product | If there is an entry for "Default assembly rate per product (%)", something has to be entered here as well. Must be greater than 0. | |
| Default assembly rate per product (%) | How high the assembly rate of an individual part is for the respective product - in % or decimal numbers | This data field only accepts whole numbers or decimals. If there is an entry for "Default parts per product", something has to be entered here as well. Must be greater than 0,0%. | |
| Default supply chain | In which supply route the part will be transported for this stage | ||
| Module | The module in which the part is used is listed here (e.g. “Belt”) | ||
| Placeholder for other products you have added | Additional products that you have added to the Common Data are displayed here | ||
| Sequence | Group chain name | The name of the grouping chain in which the part is included | |
| Grouping load carrier | Which load carrier is used for transportation in the grouping chain | If there is an entry for "Compartments per group loading carrier", this needs to be filled in as well. | |
| Compartments per group loading carrier | How many compartments a loading carrier in the grouping chain comprises | If there is an entry for "Grouping load carrier", this needs to be filled in as well. | |
| Grouping loading unit | Which loading unit is used for transportation in the grouping chain | If there is an entry for "Group loading carriers per loading unit", this needs to be filled in as well. | |
| Group loading carriers per loading unit | How many loading carriers in the grouping chain fit into one loading unit in the grouping chain | If there is an entry for "Grouping loading unit", this needs to be filled in as well. | |
| Stage 1 | Layout level | Which layout level the part is assigned to | If the part is not assigned to a layout level, station or material area, it is moved to an autogenerated area. This is marked in purple. |
| Station | Which station the part is assigned to | If the part is not assigned to a layout level, station or material area, it is moved to an autogenerated area. This is marked in purple. | |
| Area | On which material area the part is located | If the part is not assigned to a layout level, station or material area, it is moved to an autogenerated area. This is marked in purple. | |
| Areas Empties | The sequence of material areas to be included in the empties flow | Format: "MATERIAL AREA 1"/"MATERIAL AREA 2"/"MATERIAL AREA N" e.g. "HRS_06/BBL/IB_06" Please note: If the associated Log-ID is deleted, the empties sequence is also deleted. | |
| Initial level | The initial stock level planned for the part | Must be greater than or equal to 0. Must be greater than or equal to reorder level. | |
| Reorder level | The reorder stock level planned for the part | Must be greater than or equal to 0. Must be greater than or equal to safety level. | |
| Safety level | The safety stock level planned for the part | Must be greater than or equal to 0. | |
| Box matrix | The desired boxmatrix for boxes which contain the part. Boxes will be arranged accordingly | Format: NUMBERxNUMBERxNUMBER e.g. 1x2x3 Please note: If this attribute is overwritten with an empty value during re-import, the original value is still retained in the project. | |
| Rack type name | Which rack type the part should be assigned to | Please note: If this attribute is overwritten with an empty value during re-import, the original value is still retained in the project. | |
| Rack name | User-defined name for the rack | Please note: If this attribute is overwritten with an empty value during re-import, the original value is still retained in the project. | |
| Shelf name | Which shelf level the part should be assigned to | Is designated with numbers, e.g. “1” Please note: If this attribute is overwritten with an empty value during re-import, the original value is still retained in the project. | |
| Rack field | Selecting the rack field | Please note: If this attribute is overwritten with an empty value during re-import, the original value is still retained in the project. | |
| Rack bay | Selecting the rack bay | Is designated with numbers, e.g. “1” Please note: If this attribute is overwritten with an empty value during re-import, the original value is still retained in the project. | |
| Annotation | Space for comments | ||
| Box colour | Which colour the box, which contains the part, has |