Export preparation
Before you can export the provisioning requirements, first a few steps must be carried out:
- Import layout
- Import assembly processes
- Import and activate production program
1. Import layout
There are various options for importing a layout into ipolog 4 Workspace. Layouts can be imported via the CAD import (more information here), the MicroStation plugin (more information here), the Ipo Omniverse Connector (more information here) or via the export from another workspace project (more information here).
2. Import assembly processes
The so-called "workspace Excel" must be created separately and imported into Workspace via "Scenario Admin > Import assembly processes (xls)".
More information on how to establish this file here: Workspace Excel.
3. import production program
The production program must be created separately and imported into Workspace via "Scenario Admin > Import production porgram (xls)".
More information on how to establish this file here: Production Program.
The production program can then be activated via the "Production Program" module:
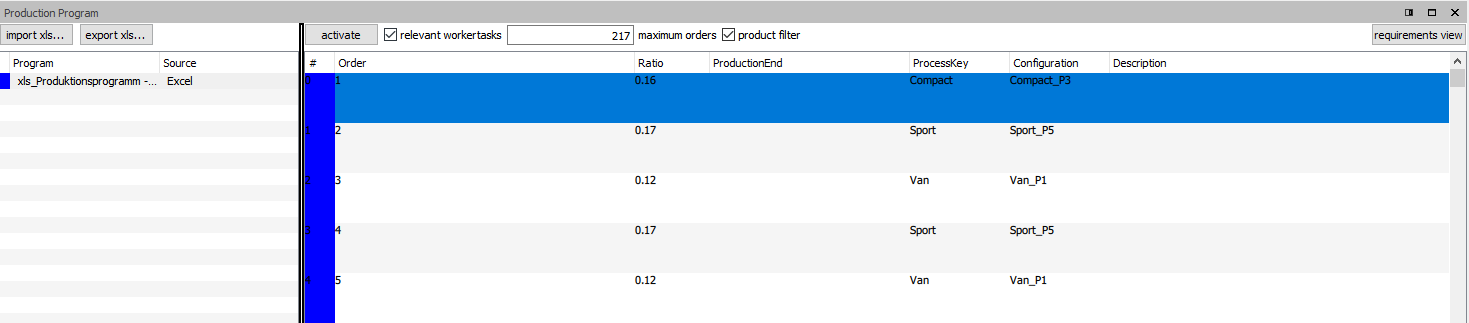
Here you can also define the number of products for which provisioning requests are to be activated. In this case, it would be 217 products.
Export
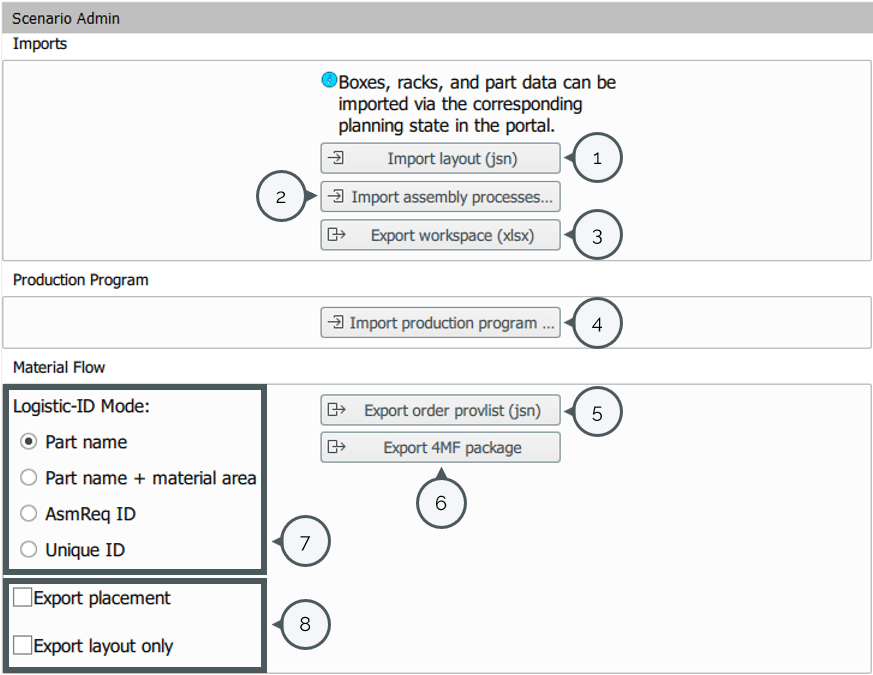
To export the provisioning requirements from ipolog 4 Workspace, first select the “Scenario Admin” module:

Then select how the provisioning requirements should be exported. The following modes are available:
| Mode | Columns in the assembly processes file | Example |
| AsmReq-ID | AVO (e.g. 1012) and Material (e.g. 1B3528) | 1012_1B3528 |
| PartName | Material | 1B3528 |
| PartName + Material Area | Material (z.B. 1012) and material area (e.g. Station01_ML) | 1012_Station01_ML |
Then select “Export 4MF Package” [6]: