Groups
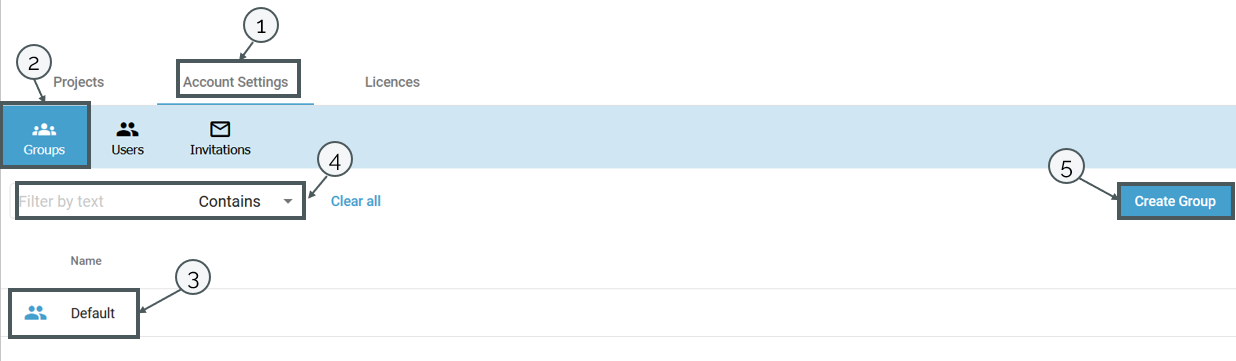
In the general view, groups can be created under "Account Settings" (1) and then under "Groups" (2). The default group is included as standard at the beginning. Groups can be searched for using the filter function. You can filter by the following criteria (3):
- contains
- is equal to
- starts with
- ends with
A new group can be created via "Create Group". For this purpose, a group name must be assigned. Afterwards, new users can be added or removed by clicking on the newly created group. Afterwards, a user group can be assigned permissions for a project. More information about the procedure can be found here.
Users
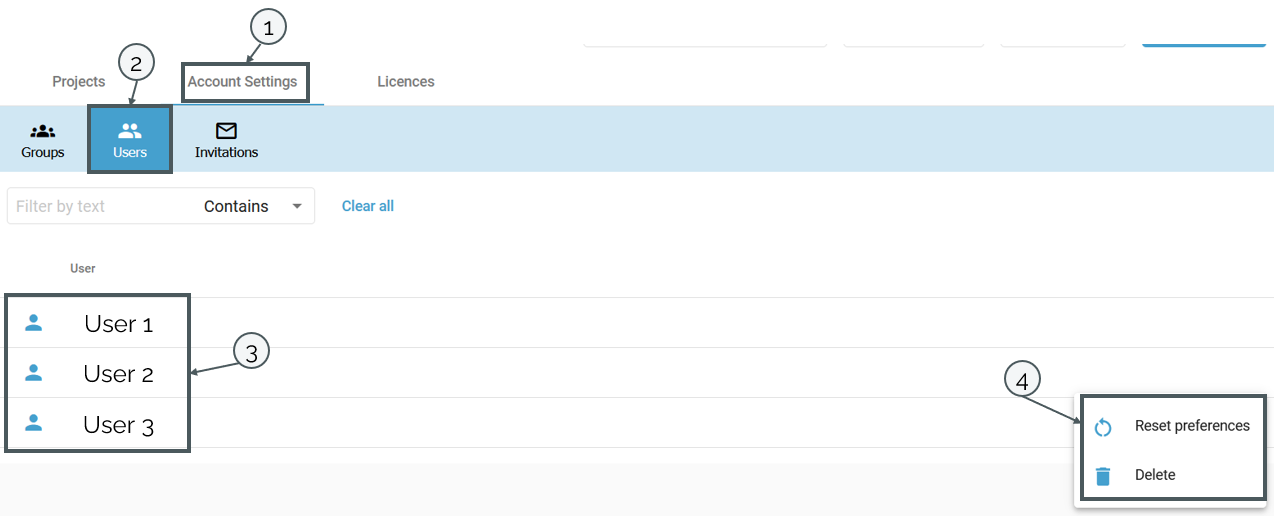
In the general view, the users can be managed under "Account Settings" (1) and then under "Users" (2). Here all users from a system are listed (3). With a click on the three dots, which become visible on the end of the corresponding entry when hovering with the mouse over a user, further settings can be made (4). Individual preferences of a user can be reset or a user can be deleted. Users can also be filtered using the filter function according to the following criteria (3):
- contains
- is equal to
- starts with
- ends with
Invitations
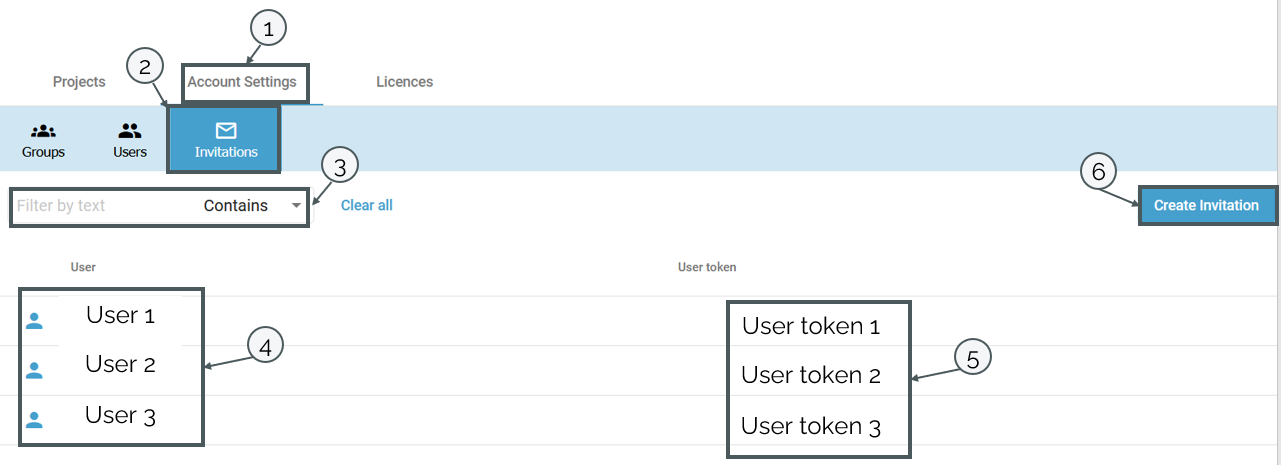
Under "Account Settings" (1) and then under "Invitations" (2), the user tokens required for registration are displayed in addition to the users (4). You can find more information about the regestration here. In addition, the users can be filtered according to the following criteria (3):
- contains
- is equal to
- starts with
- ends with
If a new user is to be added, an invitation (user token) can be created using the "Create Invitation" button (6).
Further settings + options
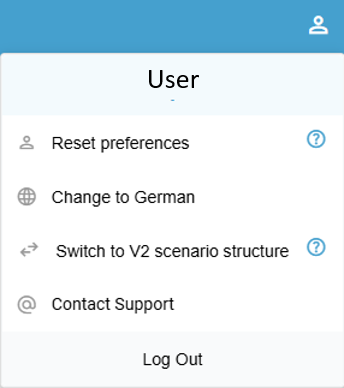
Further settings and options are available via the user icon:
- Reset user preferences
- Language setting
- Switch to the former scenario structure v2
- Direct contact to the support
- Logout