Since version 4.4.7:
Projects are the second highest level in the ipolog hierarchy. Only your system exists above it. Scenarios and planning areas are organized below this.
To create a project, you must first access your system. You can access your system by selecting the "house"-symbol and then clicking on the "arrow"-symbol. Your system should be listed there:

Please note: If your system is not listed, get in touch with your ipolog contact person or consult your IT department.
In the system view, you will see the “Projects” tab and - depending on your authorization - “Account Settings” and “Licenses”. Select “Projects”:

You will now see the “+ Create Project” button at the top right of the window. Select this to create a new project.
A new window opens. Here you can enter the name of your new project and add an optional description:
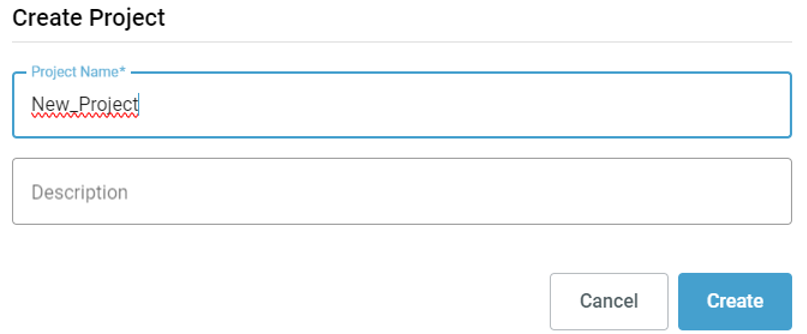
Select "Create" to finalize creating the project.
Before Version 4.4.7:
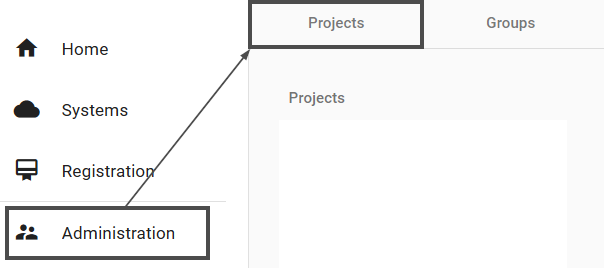
To create a project, open the administrator view. And select the corresponding system here.
- After selecting the system, the "Projects" view is displayed.
- At the bottom right, a new project can be created by clicking on the button "+ Create Project". After clicking on this button, a dialogue opens.
- The name of the project can be entered in this dialogue box.
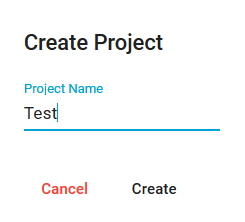
- The creation of the project must be confirmed by clicking on "Create".
- The project now appears in the Projects overview.
