Procedure since Version 4.4.7:
Gruppezuweisen_eng_zahlen.png
- First select your system
- The “Projects” tab should be selected automatically and show you the available projects. If not, select “Projects” manually.
- Select the project to which you want to assign a user group and then “Member permissions”
The user group overview appears:
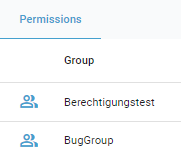
Select the group whose authorizations you want to edit for the selected project.
Once you have selected a user group, the authorization view opens:
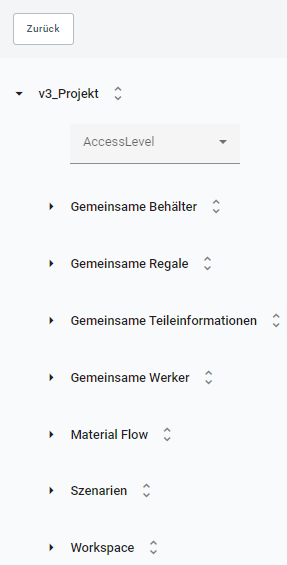
Here you can give authorization to the users of the selected user group. The authorization only applies to the selected project and is divided into authorization levels:
- Project
- Common Boxes
- Common Part Data
- Common Racks
- Common Workers (not available as of 11/2024)
- The Material Flow planning spaces of this project
- The scenarios of this project
- The Workspace planning spaces of this project
These are the authorizations you can assign to user groups:
| 1. admin | May publish, edit and view project |
| 2. contributor | May edit and view project |
| 3. reader | May view project |
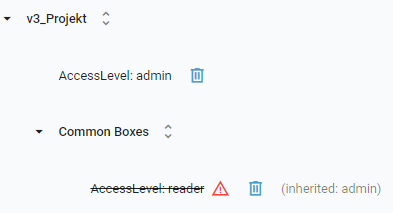
The authorizations are assigned hierarchically from top to bottom - so if you select “admin” for the top level “v3_Projekt”, only admins can access the project.
This also means that you cannot select a “hierarchy level” lower than “admin” for the lower levels:
Procedure before Version 4.4.7:
The following preconditions must be met before a user group can be assigned permissions for a project:
- Project is created
- (desired) user group is created or already available
To get to the assignment of permissions to a user group within a project, one of the following ways can be taken:
1. Open the permissions view via the tile view of the projects:
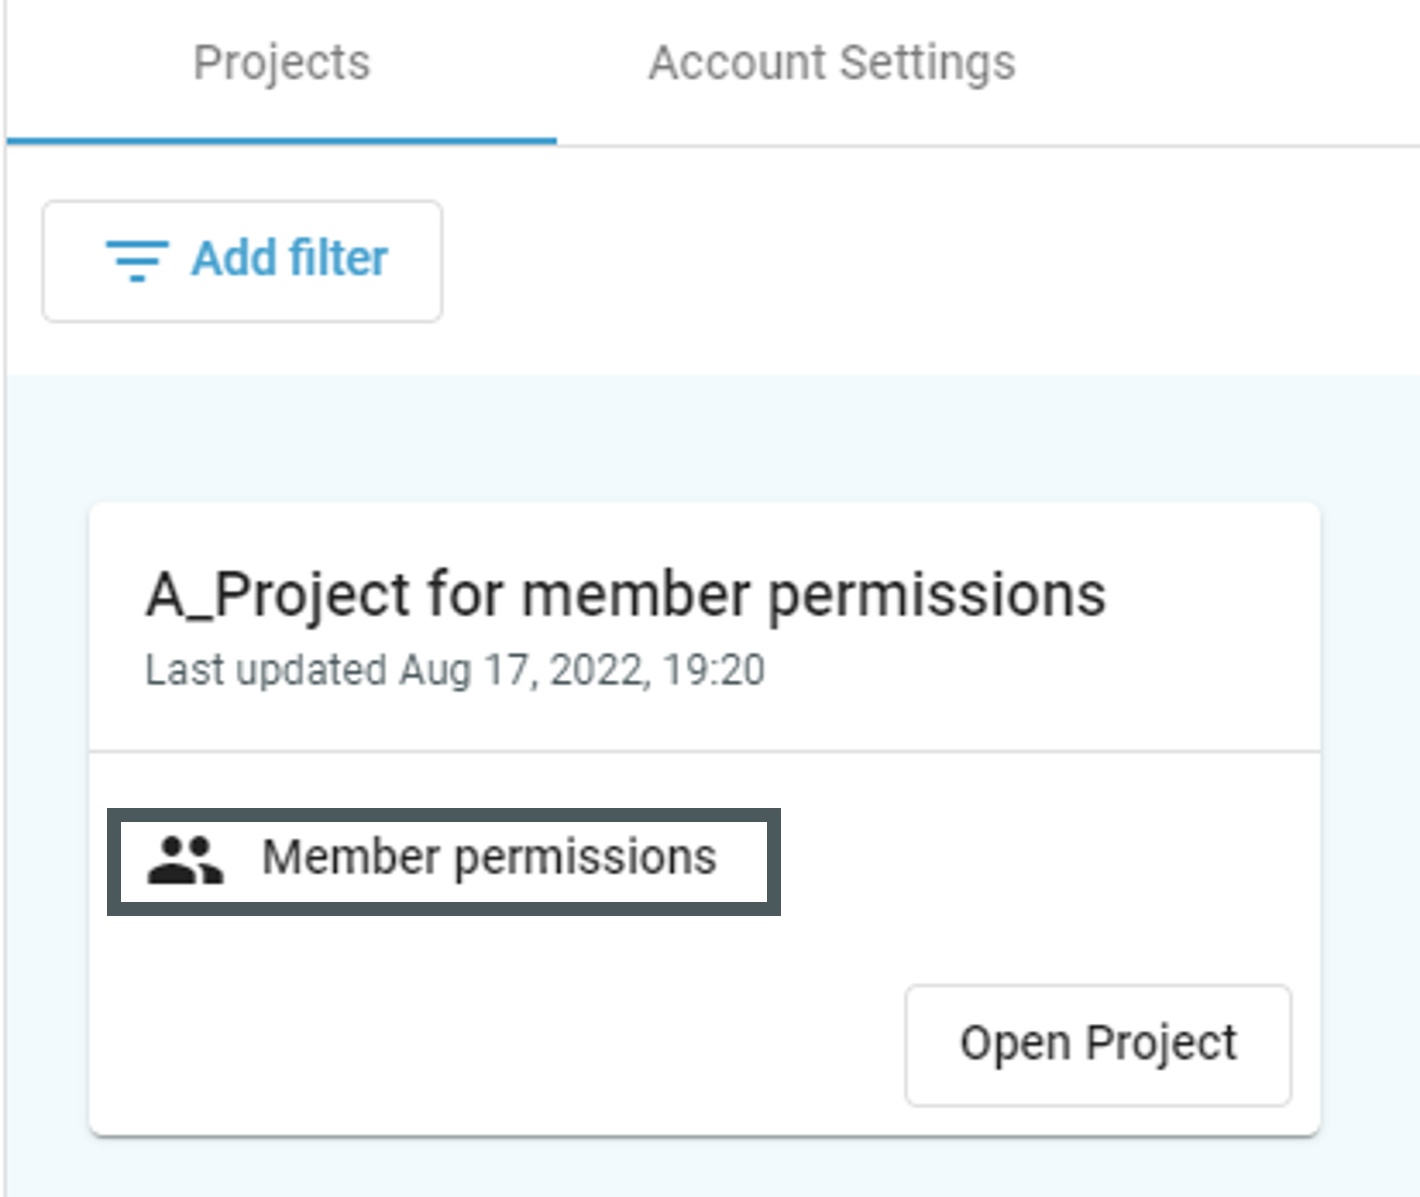
2. Open the Permissions view from the Points menu in the open project:
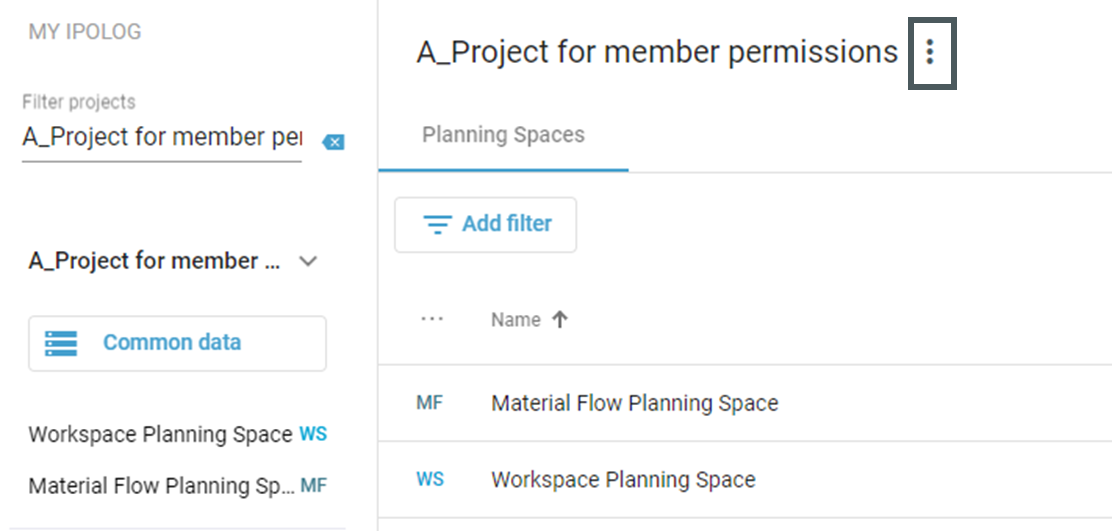
In the dialog box that opens, select "Member permissions".
An overview of all the user groups that have been created and are available within the system is then displayed. Select the user group for which permissions are to be assigned for the project.
After the user group has been opened, the following view appears:
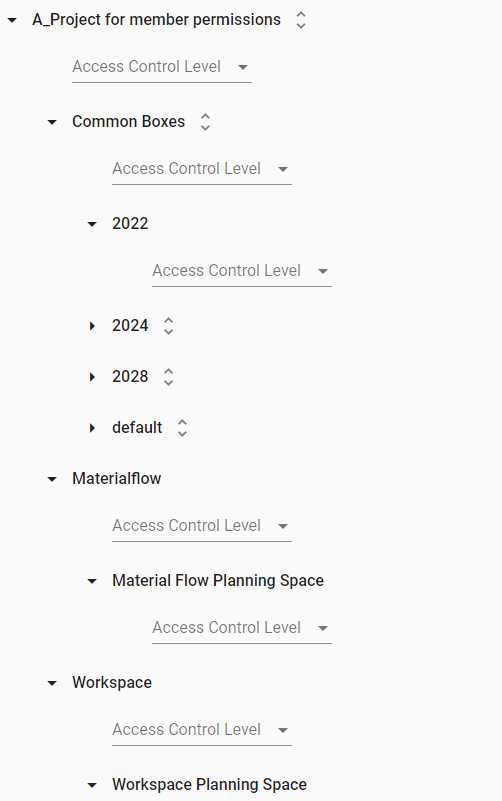
All superordinate contents of the project can be found there. On the respective level authorizations can be assigned.
There are the levels:
- Project
- Common Boxes
- Box Planning State (analogous to the created Box Planning States in the project)
- Material Flow
- Planning Spaces for Material Flow (in this case: "Material Flow Planning Space")
- Workspace
- Planning Spaces for Workspace (in this case: "Workspace Planning Space")
These permissions can be selected:
| admin | - is inherited downwards - Admin users can share planning states, provided you have Admin permission for a single planning state |
| contributor | - is inherited downwards - Editing in all views is possible. Every form of editing can be implemented. In the scenarios, no single function is blocked for the contributor. - In common boxes, containers can be imported, deleted, created and edited with a "Contributor" authorization, but the common boxes of a planning state cannot be released. |
| reader | - is not inherited downwards - In this case, the user is allowed to access the data, but has no permissions to perform any functions. Thus, this user can only see the contents, but not edit or delete them. |
If no permissions are assigned, only actions for users with special permissions, called user claims, are possible. All other users without these user claims need the permissions to work on contents of a project accordingly.
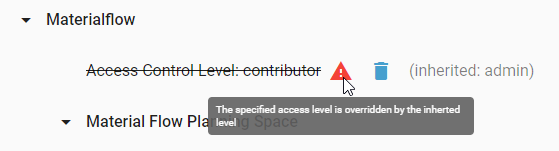
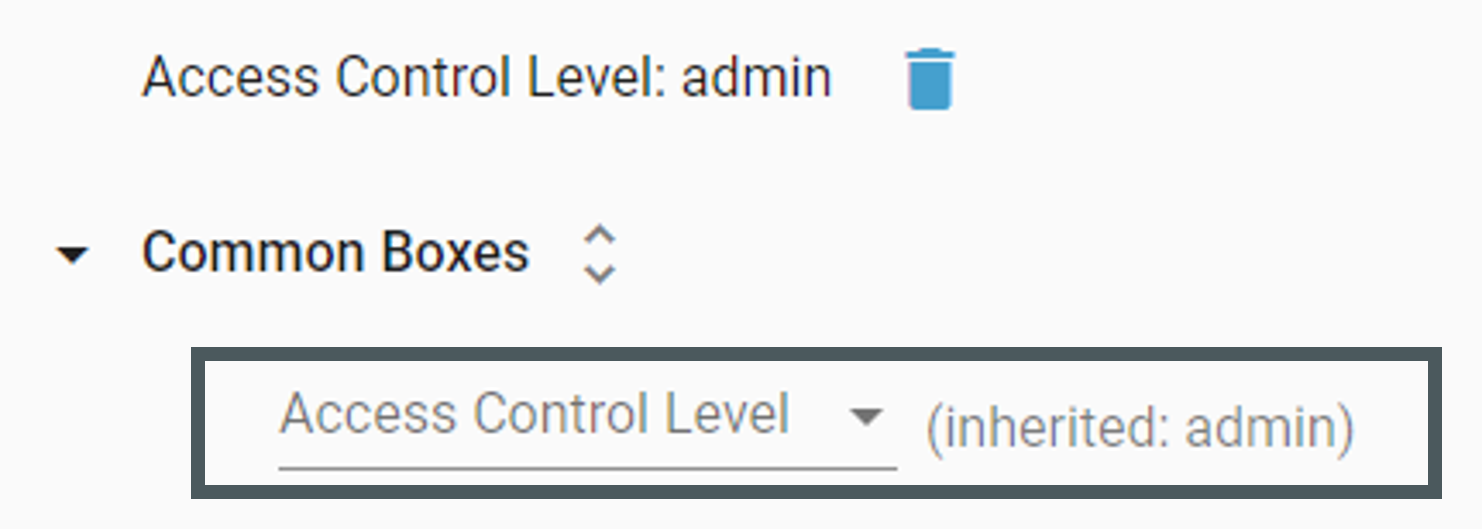
If permissions are inherited downwards, this is visible in the interface as follows:
If the defined permissions contradict each other, for example that a right is overwritten by a right assigned to a higher level, this is visualized as follows: